
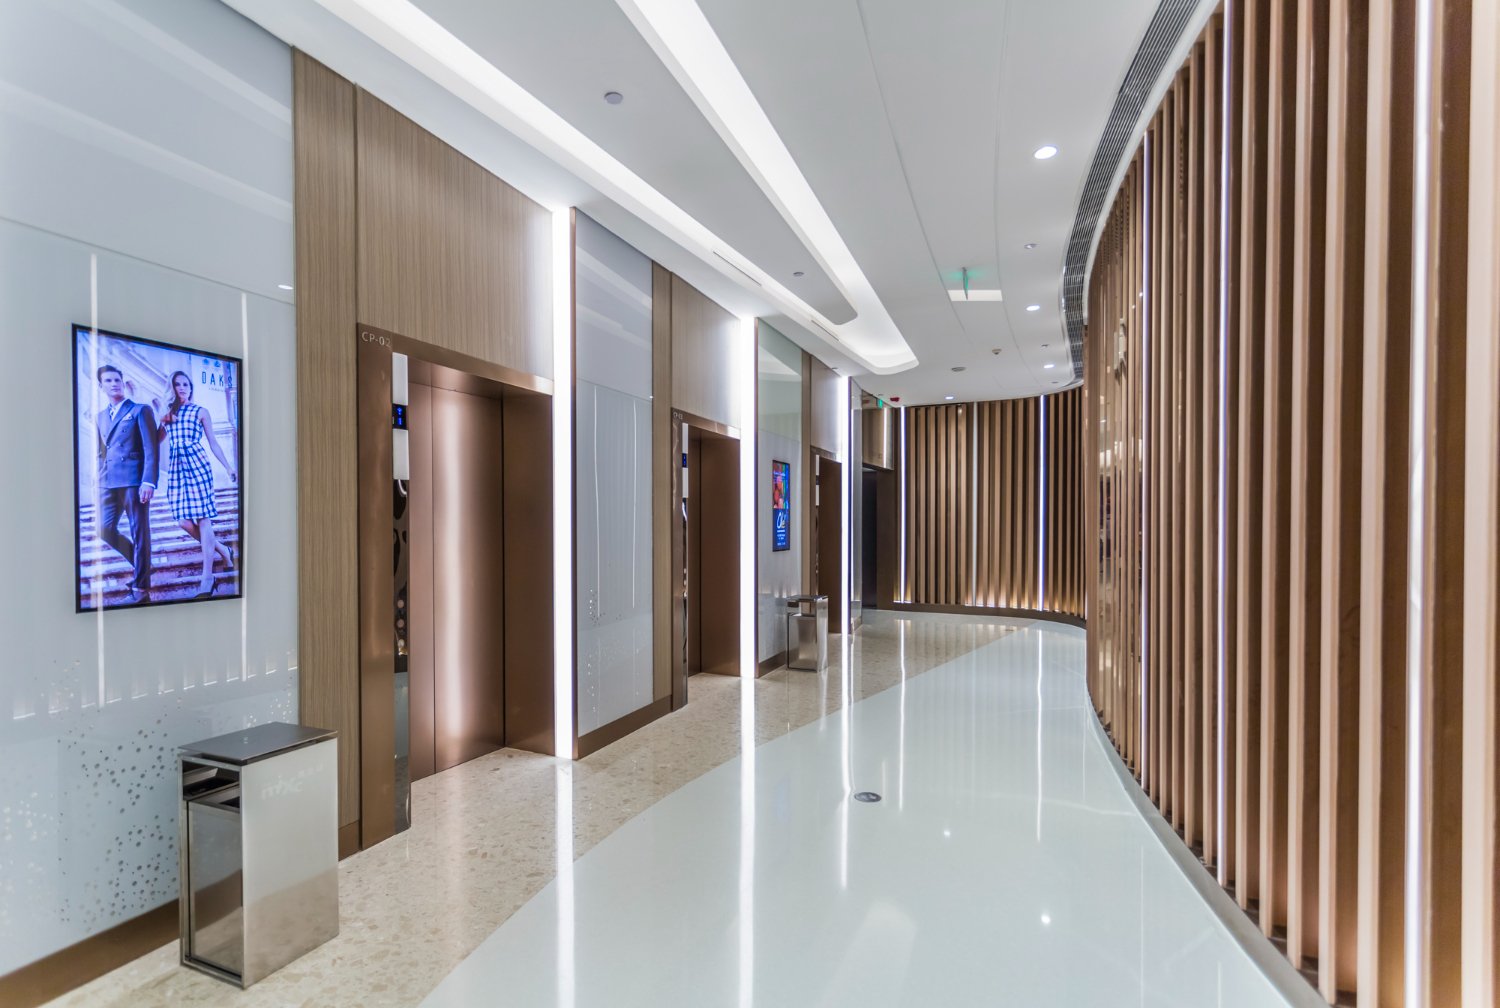
A well-planned False Ceiling Design in Lucknow can improve lighting, conceal services, soften acoustics and improve a room’s proportion. Poor planning reduces headroom, creates dark corners, cracks at joints and hides leaks. Start with function, slab condition, height, lighting.
For most dry residential rooms, a specified gypsum-board ceiling on a branded galvanized steel framework offers the best balance of finish, speed and design flexibility. POP remains useful for mouldings and curved details; calcium-silicate or moisture-resistant systems suit selected demanding areas; metal and acoustic tiles serve more specialized needs. Wood-look finishes are usually decorative cladding over an engineered base rather than the entire suspended system.
For a typical Lucknow apartment, a slim perimeter drop with cove lighting and a clean central plane usually ages better than multiple layers. Confirm finished clear height, service access, electrical loads, board type, framework specification and the full quotation before installation.
What Is a False Ceiling and When Is It Worth Installing?
A false ceiling is a secondary, non-structural ceiling suspended below the concrete slab or roof. Its framework supports boards, tiles or panels and creates a service void for conduits, lighting, air-conditioning lines, speakers or insulation. Heavy fittings must not be supported by the finish board unless the tested system explicitly permits it.
It is useful for layered lighting, concealed services, acoustic treatment or correcting a tall room’s proportion. It may be unnecessary in an already low room, an unrepaired leak-prone area or a simple rental. A design should earn the headroom it consumes.
Best False Ceiling Designs for Modern Lucknow Homes
1. Single-Level Perimeter Ceiling
A narrow dropped border around a flat central ceiling is one of the Best False Ceiling Designs for apartments. It can carry downlights, a concealed curtain channel and a soft LED cove while keeping the centre visually open. The clean geometry suits compact living rooms and bedrooms, uses less material than a fully layered composition and leaves an obvious route for future inspection.
2. Floating or Island Ceiling
A suspended central rectangle or curved island can visually anchor a seating group, dining table or bed. The shadow gap creates a floating effect, especially with concealed light. It works best when the feature aligns with furniture rather than merely the room’s centre. Fan and chandelier supports require independent anchoring to the slab or a designed support not just the island board.
3. Recessed Tray and Cove Ceiling
A tray ceiling creates a raised-looking centre surrounded by one or more steps. It is a popular latest false ceiling design because it combines ambient cove light with task downlights. One restrained step is normally enough; repeated trays reduce height, trap dust and create excessive visual lines.
Read also: Interior Design Cost in Lucknow
4. Linear, Fluted and Slatted Accents
Linear grooves, metal profiles or wood-look slats give a contemporary direction to the ceiling and can connect it with a TV wall or dining feature. Use them as a controlled accent with suitable fire, moisture and maintenance properties. Ask for the substrate, finish and access detail in writing.
5. Curved and Organic Forms
Curves can soften a long room or echo furniture and circulation, but they need accurate setting-out and experienced workmanship. Flexible gypsum boards, formed sections or POP details may be used depending on radius. Request a scaled plan instead of allowing freehand site marking.
6. Coffered or Grid Ceiling
Coffered ceilings create repeated recessed squares or rectangles and suit spacious halls, villas and formal rooms with adequate height. The grid must coordinate with beams, fans, sprinklers, air-conditioning and furniture axes. In a small apartment, a large coffer pattern can make the ceiling feel crowded and lower than it is.
Read also: Home Interior Designer in Lucknow
7. Minimal Shadow-Gap Ceiling
A plain ceiling with a precise perimeter shadow gap offers a quiet architectural finish. It depends on straight lines, level surfaces and good detailing rather than decoration. This approach works especially well in premium minimal interiors where lighting is layered through tracks, pendants and selected downlights.
8. Acoustic or Lay-In Tile Ceiling
Perforated gypsum, mineral-fibre or other tested acoustic ceiling systems can improve sound absorption in home theatres, offices and commercial spaces. Removable lay-in tiles also provide service access. Product data, grid compatibility, humidity limits, fire performance and acoustic ratings should guide selection.
Read also: False Ceiling Design Ideas for Homes in Lucknow
False Ceiling Design for Hall: A Practical Formula
The hall normally combines seating, television viewing, circulation and sometimes dining, so the ceiling should organize zones without chopping the space into unrelated shapes. Begin with the sofa, TV, dining table and curtain positions. Align the cove or island with the main furniture zone; keep fan blades clear of drops and pendants; avoid downlights directly above the television; and place warmer ambient lighting on separate circuits from brighter task light.
| Hall condition | Recommended starting design | What to control |
| Compact hall / lower ceiling | Slim perimeter drop or flat ceiling with track lights | Preserve height; avoid heavy centre layers |
| Open living–dining | One continuous geometry with a dining pendant zone | Maintain visual connection and separate switching |
| Large villa hall | Tray, island or restrained coffers | Scale, symmetry, chandelier support and access |
| TV-focused living room | Soft cove plus controlled downlights | Glare, reflections and driver accessibility |
| Hall with central fan | Simple central plane and perimeter lighting | Fan clearance and independent slab support |
Which Materials Are Best for False Ceiling Design?
| Material / system | Best use | Strengths | Main cautions |
| Gypsum plasterboard | Living, bedroom, hall and dry interiors | Smooth finish, light weight, fast dry construction, flexible design | Needs correct board, GI framework, jointing and leak protection |
| POP | Cornices, mouldings, curves and repairs by skilled teams | Seamless decorative shaping and local availability | Wet process, slower work, workmanship variation and cracking risk |
| Calcium-silicate / fibre-cement board | Selected humid or demanding service areas | Dimensionally stable options and robust surface | Heavier; system, fasteners and joints must match manufacturer |
| Metal ceiling | Kitchens, utility, offices and service-heavy areas | Durable, washable options and removable modules | Industrial appearance, corrosion grade, acoustics and cost |
| Mineral-fibre / acoustic tile | Offices, studios, home theatres | Sound absorption and easy access in lay-in systems | Humidity limits, edge damage and grid appearance |
| Wood / veneer / slats | Dry decorative feature zones | Warm premium appearance and acoustic potential | Fire, termite, moisture, weight and maintenance requirements |
| PVC panels | Budget utility applications | Light, washable and quick to fit | Heat, fire, ageing, joints and product-quality concerns |
For a regular home, choose a complete system rather than mixing the cheapest board, channel, screw and compound from unrelated sources. Plain gypsum plasterboard in India is covered by IS 2095 (Part 1), and product certification status can be checked through BIS. Moisture-resistant and fire-performance claims are system-specific: a coloured board alone does not guarantee the performance of the complete ceiling. Ask for the manufacturer, board thickness, framework gauge, hanger spacing, fastener pattern and jointing products on the quotation.
Bathrooms and leakage-prone balconies need special caution. A moisture-resistant board can tolerate higher humidity better than a standard board, but it does not replace slab waterproofing or make an active plumbing leak harmless. Repair and test the source of water first. For kitchens, coordinate the ceiling with the chimney duct, heat sources, cleaning needs and inspection access.
Read also: False Ceiling Designs That Elevate Home Interiors
Tools and Materials Needed for False Ceiling Installation
The exact kit depends on the proprietary system and design. A professional gypsum installation commonly requires a laser or water level, measuring tape, chalk line, square, plumb or level, snips, utility knife, board rasp, drill, drywall screw gun, hole saw, jointing tools, sanding equipment with dust control, access platform and suitable personal protective equipment. Electrical testing tools belong with the qualified electrician.
| Category | Typical items |
| Primary ceiling system | Specified boards or tiles; perimeter channel; ceiling sections; intermediate channels; hangers, anchors, clips and connectors |
| Fixing and finishing | System-approved drywall screws, joint tape, jointing compound, corner beads or trims, primer and compatible paint |
| Lighting coordination | Conduits, junction boxes, wiring, drivers, profiles, access panels and independent supports for heavy fixtures |
| Protection and safety | Stable scaffold or platform, gloves, eye protection, suitable mask/respirator, hearing protection, dust extraction and barriers |
| Inspection | Reflected ceiling plan, level marks, spacing gauge, straightedge, circuit schedule, product batch details and snag checklist |
Planning and Safety Precautions for False Ceiling Installation
- Survey the slab, beams, cracks, damp patches, plumbing lines and existing electrical services. Stop and repair active leakage before covering the area.
- Prepare a reflected ceiling plan showing levels, dimensions, fan and fixture centres, access panels, AC grilles, curtains, detectors and switch groups.
- Verify finished clear height and all drops at doors, windows, wardrobes and air-conditioning units. Obtain society or building approvals where required.
- Use the manufacturer’s complete tested or specified system. Do not improvise hanger spacing, framework members, board orientation or screw pattern.
- Use anchors suitable for the actual structural substrate. Never drill blindly near concealed reinforcement or services; structural concerns require qualified review.
- Isolate electrical circuits before work. A qualified electrician should route, terminate and test wiring; connections and LED drivers must remain accessible.
- Support fans, chandeliers, projectors and other heavy loads independently from the slab or engineered structure. Do not hang them from gypsum board alone.
- Use a stable working platform, control dust, ventilate the room and wear PPE appropriate to drilling, cutting, sanding and overhead work.
- Keep boards dry, flat and protected from edge damage. Acclimatize and handle products according to the manufacturer’s instructions.
- Photograph the concealed framework and services before closure. Keep product invoices, drawings, circuit details and warranties for future repairs.
Safety note
This installation sequence is for homeowner understanding and quality control, not a substitute for trained installers, a qualified electrician, manufacturer instructions or structural advice. Work at height, drilling, electrical circuits and suspended loads can cause serious injury or property damage.
Step-by-Step Installation Process of a False Ceiling
- Confirm design and specification: Freeze the reflected ceiling plan, finished levels, material system, lighting layout, access points and quotation. Resolve fan, AC, curtain and furniture positions before procurement.
- Prepare and protect the site: Remove or cover furniture and flooring, set safe access, isolate affected circuits and inspect the slab. Rectify dampness, loose plaster or service faults before the ceiling hides them.
- Mark the finished ceiling level: Use a laser or water level to transfer a consistent datum around the room. Check the proposed drop against doors, windows, wardrobes, beams and the lowest service.
- Fix perimeter and suspension points: Install the perimeter member and structural anchors at the system-prescribed locations. Anchor type, edge distance and spacing must suit the substrate and manufacturer’s ceiling detail.
- Assemble and level the GI framework: Connect hangers, main channels and ceiling sections to the specified spacing. Level the grid, brace where required and inspect rigidity, alignment and corrosion protection.
- Coordinate concealed services: Complete conduits, wiring, junctions, ducts, insulation and independent fixture supports. Add framing for access panels and profiles. Test services and photograph everything before boarding.
- Cut and fix boards or install tiles: Measure and cut accurately, stagger joints where the system requires, maintain edge gaps and fasten in the approved direction and pattern. Screw heads should be correctly seated without tearing the face paper.
- Treat joints and edges: Apply compatible joint compound and tape in the prescribed coats, allowing adequate drying between layers. Finish corners, cut-outs and shadow gaps with the correct beads or profiles.
- Sand, prime and paint: Sand only after the joint system has dried, using dust control and suitable PPE. Inspect under raking light, clean the surface, apply compatible primer and finish coats.
- Install, test and hand over: Fit lights and grilles without overloading the board, energize and test circuits, check levels and joints, clean the area, close snags and hand over drawings, photographs, spare paint and warranty details.
Installation Quality Checklist Before Final Payment
- Ceiling levels and design dimensions match the approved drawing; lines and shadow gaps appear straight.
- No visible sagging, vibration, open joints, damaged board paper, rust marks or poorly filled screw heads.
- Downlights, profiles, fans, pendants, AC grilles, curtains and access panels align with the room and furniture plan.
- Heavy fixtures have independent supports and all electrical circuits, dimmers and LED drivers work without flicker.
- Access panels open without damaging paint and allow realistic servicing of valves, drivers, junctions or AC components.
- The finished surface is checked in daylight and with lights on; joint bands and sanding waves are not visible under normal viewing.
- The contractor provides system details, concealed-work photographs, invoices, warranty terms and maintenance instructions.
Common Mistakes to Avoid During False Ceiling Installation
The most common design mistake is adding layers without checking clear height. A second is treating lighting as decoration instead of a visual task: too many downlights create glare, while an unsupported cove produces dark patches. Plan ambient, task and accent light separately and divide circuits so every light does not switch on together.
Technical failures often come from unbranded or underspecified framework, excessive spacing, unsuitable anchors, mixed jointing materials, wet boards, rushed drying or missing access. Fixing a fan or chandelier to the board is unsafe. Covering a leak hides evidence until staining, corrosion or sagging appears. The quotation should describe the system.
Do not approve the ceiling in isolation. A wardrobe may hit a drop, a curtain track may lose depth, an AC grille may cut through the design or the television may reflect downlights. One coordinated drawing prevents these site corrections.
False Ceiling Cost in Lucknow: What Changes the Quotation?
Lucknow Interio current cost guide places false ceilings with lighting around ₹60–₹120 per sq ft as a broad planning reference. A real quotation may sit outside that band because the board and framework system, drop height, curves, coffers, shadow profiles, access panels, paint, wiring and fixtures change the scope. Small rooms can have a higher effective rate.
Ask for separate values for the ceiling system, electrical work, LED profiles or cove strips, decorative cladding, paint, scaffolding, protection, taxes and slab repairs. Confirm whether the measurement is plan area, developed surface area or board quantity. Compare contractors on an identical drawing and bill of quantities.
How to Choose the Right Design for Your Home
- Measure the existing and proposed clear height; reject any design that makes daily use uncomfortable.
- List the functions: ambient light, task light, AC, acoustics, concealment, insulation or decoration.
- Choose the simplest geometry that supports those functions and the room’s furniture layout.
- Select a system for the room conditions, then verify board, framework, anchors, fasteners and finish as one specification.
- Review a reflected ceiling plan and one lighting scene before site work begins.
- Approve physical samples for paint, profiles, slats and light colour; digital images are not reliable enough.
- Compare complete quotations, installer capability, warranty, service access and previous work not only per-square-foot price.
Final Recommendation
The latest false ceiling design is not automatically the right design. The best ceiling is proportionate to the room, coordinates with furniture and services, uses a documented system, remains accessible for repair and gives you useful lighting without sacrificing comfortable height. For most homes, one strong geometry and a restrained lighting plan will look more premium and age better than several decorative layers.
Lucknow Interio can develop the reflected ceiling plan, material specification, lighting layout and itemized execution scope as part of a coordinated interior design in Lucknow project. This reduces clashes between the ceiling, wardrobes, curtains, air-conditioning, television wall and electrical system.
Frequently Asked Questions
What is the best false ceiling design for a hall?
A slim perimeter ceiling with a clean centre, warm cove light and separately switched downlights works well in many Lucknow halls. Open living–dining rooms benefit from one continuous geometry rather than unrelated shapes. Align the design with furniture, fan, television, curtains and dining pendant positions.
How much does a false ceiling cost in Lucknow?
A broad Lucknow planning reference is around ₹60–₹120 per sq ft for false ceiling with lighting, but the final cost depends on the system, levels, curves, profiles, access panels, electrical work, fixtures, paint and site condition. Request a measured, itemized quotation based on an approved drawing.
How much height does a false ceiling require?
The drop depends on the framework, lights, ducts, beams and design. A shallow perimeter may need much less space than a fully layered ceiling or concealed AC service. Mark the proposed finished level physically on the wall and check doors, windows, wardrobes and fan clearance before approval.
Is a gypsum false ceiling safe?
A gypsum ceiling can be safe when designed and installed as a complete compatible system with correct structural anchors, hanger spacing, framework, boards, screws and jointing. Heavy fixtures require independent support. Safety claims such as fire or moisture performance apply to tested systems, not to board colour alone.
Can false ceilings be installed in kitchens and bathrooms?
They can be used only with careful material, ventilation, heat and moisture planning. Repair leaks and complete waterproofing first. Coordinate kitchen ducts and service access. A moisture-resistant board does not make a ceiling waterproof, so choose a manufacturer-approved system for the actual exposure.
How long does false ceiling installation take?
A simple residential room may take several working days for marking, framing, services, boarding, joint coats, drying, sanding and painting. Larger or curved designs take longer. Do not compress compound drying or paint preparation merely to meet a handover date, because rushed finishing increases visible joints and cracks.